This rambling essay is of my journey into 3D printing, information I think would be useful if you are looking to take the plunge yourself, and some teases of projects I've been working on.
Background
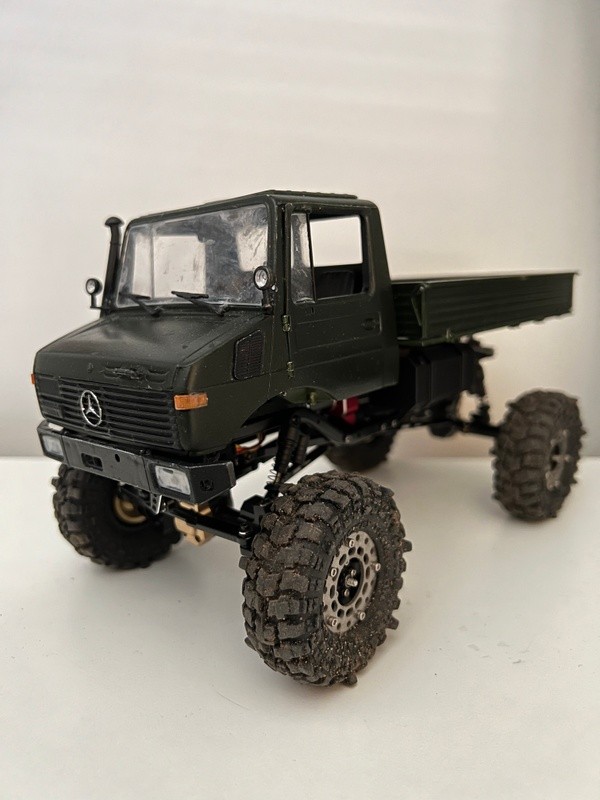
My friends recently exposed me to RC rock crawlers and more specifically, the Axial SCX24. I was immediately hooked. Why am I talking RC cars in a 3D printing post? These cars have large communities. They mod hard. After driving my friends very well modded truck for a few minutes I knew that I was going to get one and I would absolutely follow in his footsteps and modify it. After a few quick off the shelf mods, I was happy with the direction but then I watched this video where Scale Builder's Guild built a modified Defender cab over harbody SCX24 and I lost my mind. This was exactly what I wanted to do. I NEEDED to learn 3D printing to be able to do something like this well.
Impulse Decision Time
I want a 3D printer, but I haven't thought this through. The last I looked into 3D printing it was prohibitively expensive, or at least when measuring the ROI for a small-time hobbyist like myself. I Google to see what things are like in 2022. Holy crap, I can go buy a well reviewed 3D printer at Micro Center for $250. This is when my natural indecision and need to over research every purchase comes in to play, but I push it to the side and with some advice from one of my friends from above.
I hop in my truck and floor it to MC to buy this thing: the Creality Ender-3 V2.
Assembly
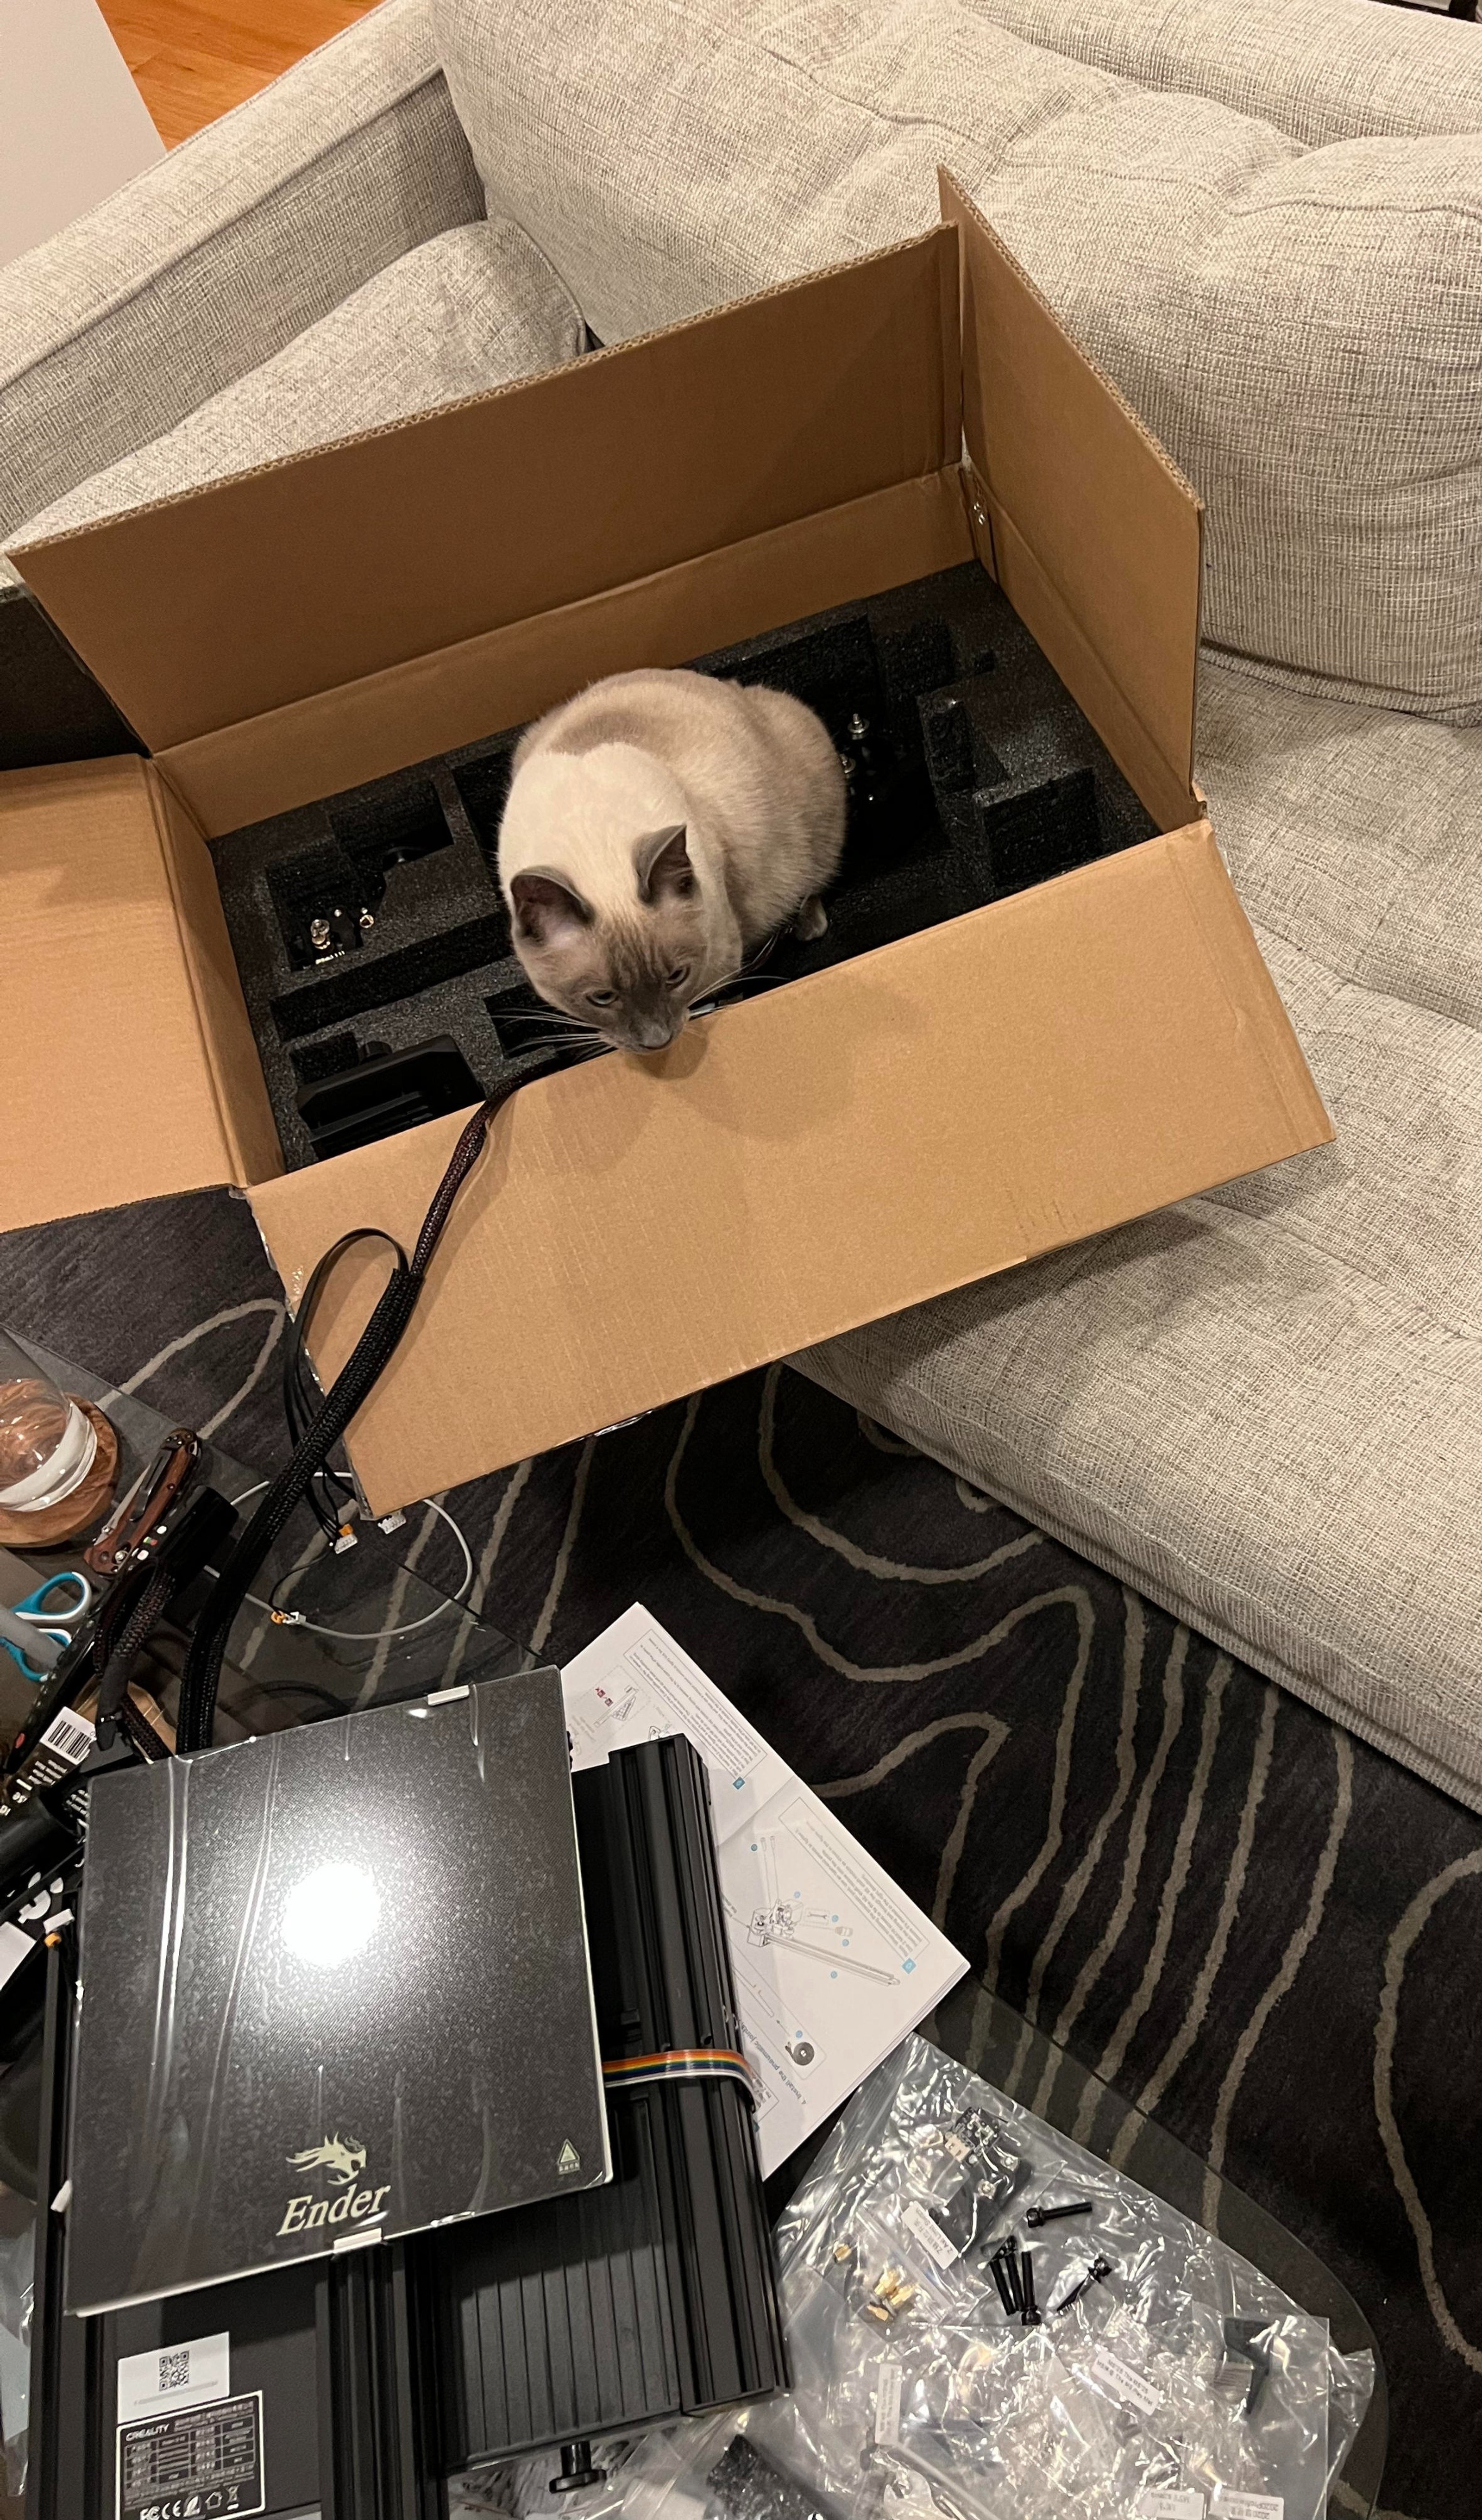
One of the differences between the V2 and higher end models like the S1 Pro is the amount of assembly required. This one requires a fair amount and assembly IS important. If you misalign, do not tighten correctly, or leave a part off, you will have bad to terrible prints or maybe even a 3D printer that decides to light itself on fire! No seriously... I guess you have to keep an eye on your prints as the combination of heating elements and bad wiring can lead to fires.
Assembly would take a normal person 45 minutes or so. It took me an hour and a half. 🤷
The manual is utterly confusing at times. I recommend viewing the digital manual (scan the QR codeas there are "missing pages" in the paper manual provided. If those still aren't helping, look to Youtube for some guides.
Calibration
Get your piece of paper ready and... Full stop. If you want to waste time learning to manually level, Google it and keep tweaking it. If you want to get to good printing quicker, get $50 and move on to the next section:
Mods
After a few prints I realized I was spending too much time trying to tweak the printer and all my prints still seemed to be of the same quality, just "fine." I did research and decided to mod. The two that seemed like they would improve my quality-of-life the most were a self-leveling sensor and upgraded bed springs.
Yellow Springs - $8.99
Why are all the replacement springs yellow? I have no idea, but if you've seen a list of mods, these are always mentioned, specifically as the "yellow springs." Why this mod? The springs that come with the V2 are rounded coil springs. The yellow springs are flat coil springs. The rounded springs do NOT lay flat on the bed or the spring arm and not even on the coils of the spring! When tension is applied, they will move a significant amount and it will mess up your bed level. This happens the second you attempt to remove something from the bed of the printer.
Where to buy:
- Micro Center might carry them but I can only find the 25mm springs on their website for the CR-10. The V2 needs 20mm springs.
Creality CR Touch - $39.99-49.99
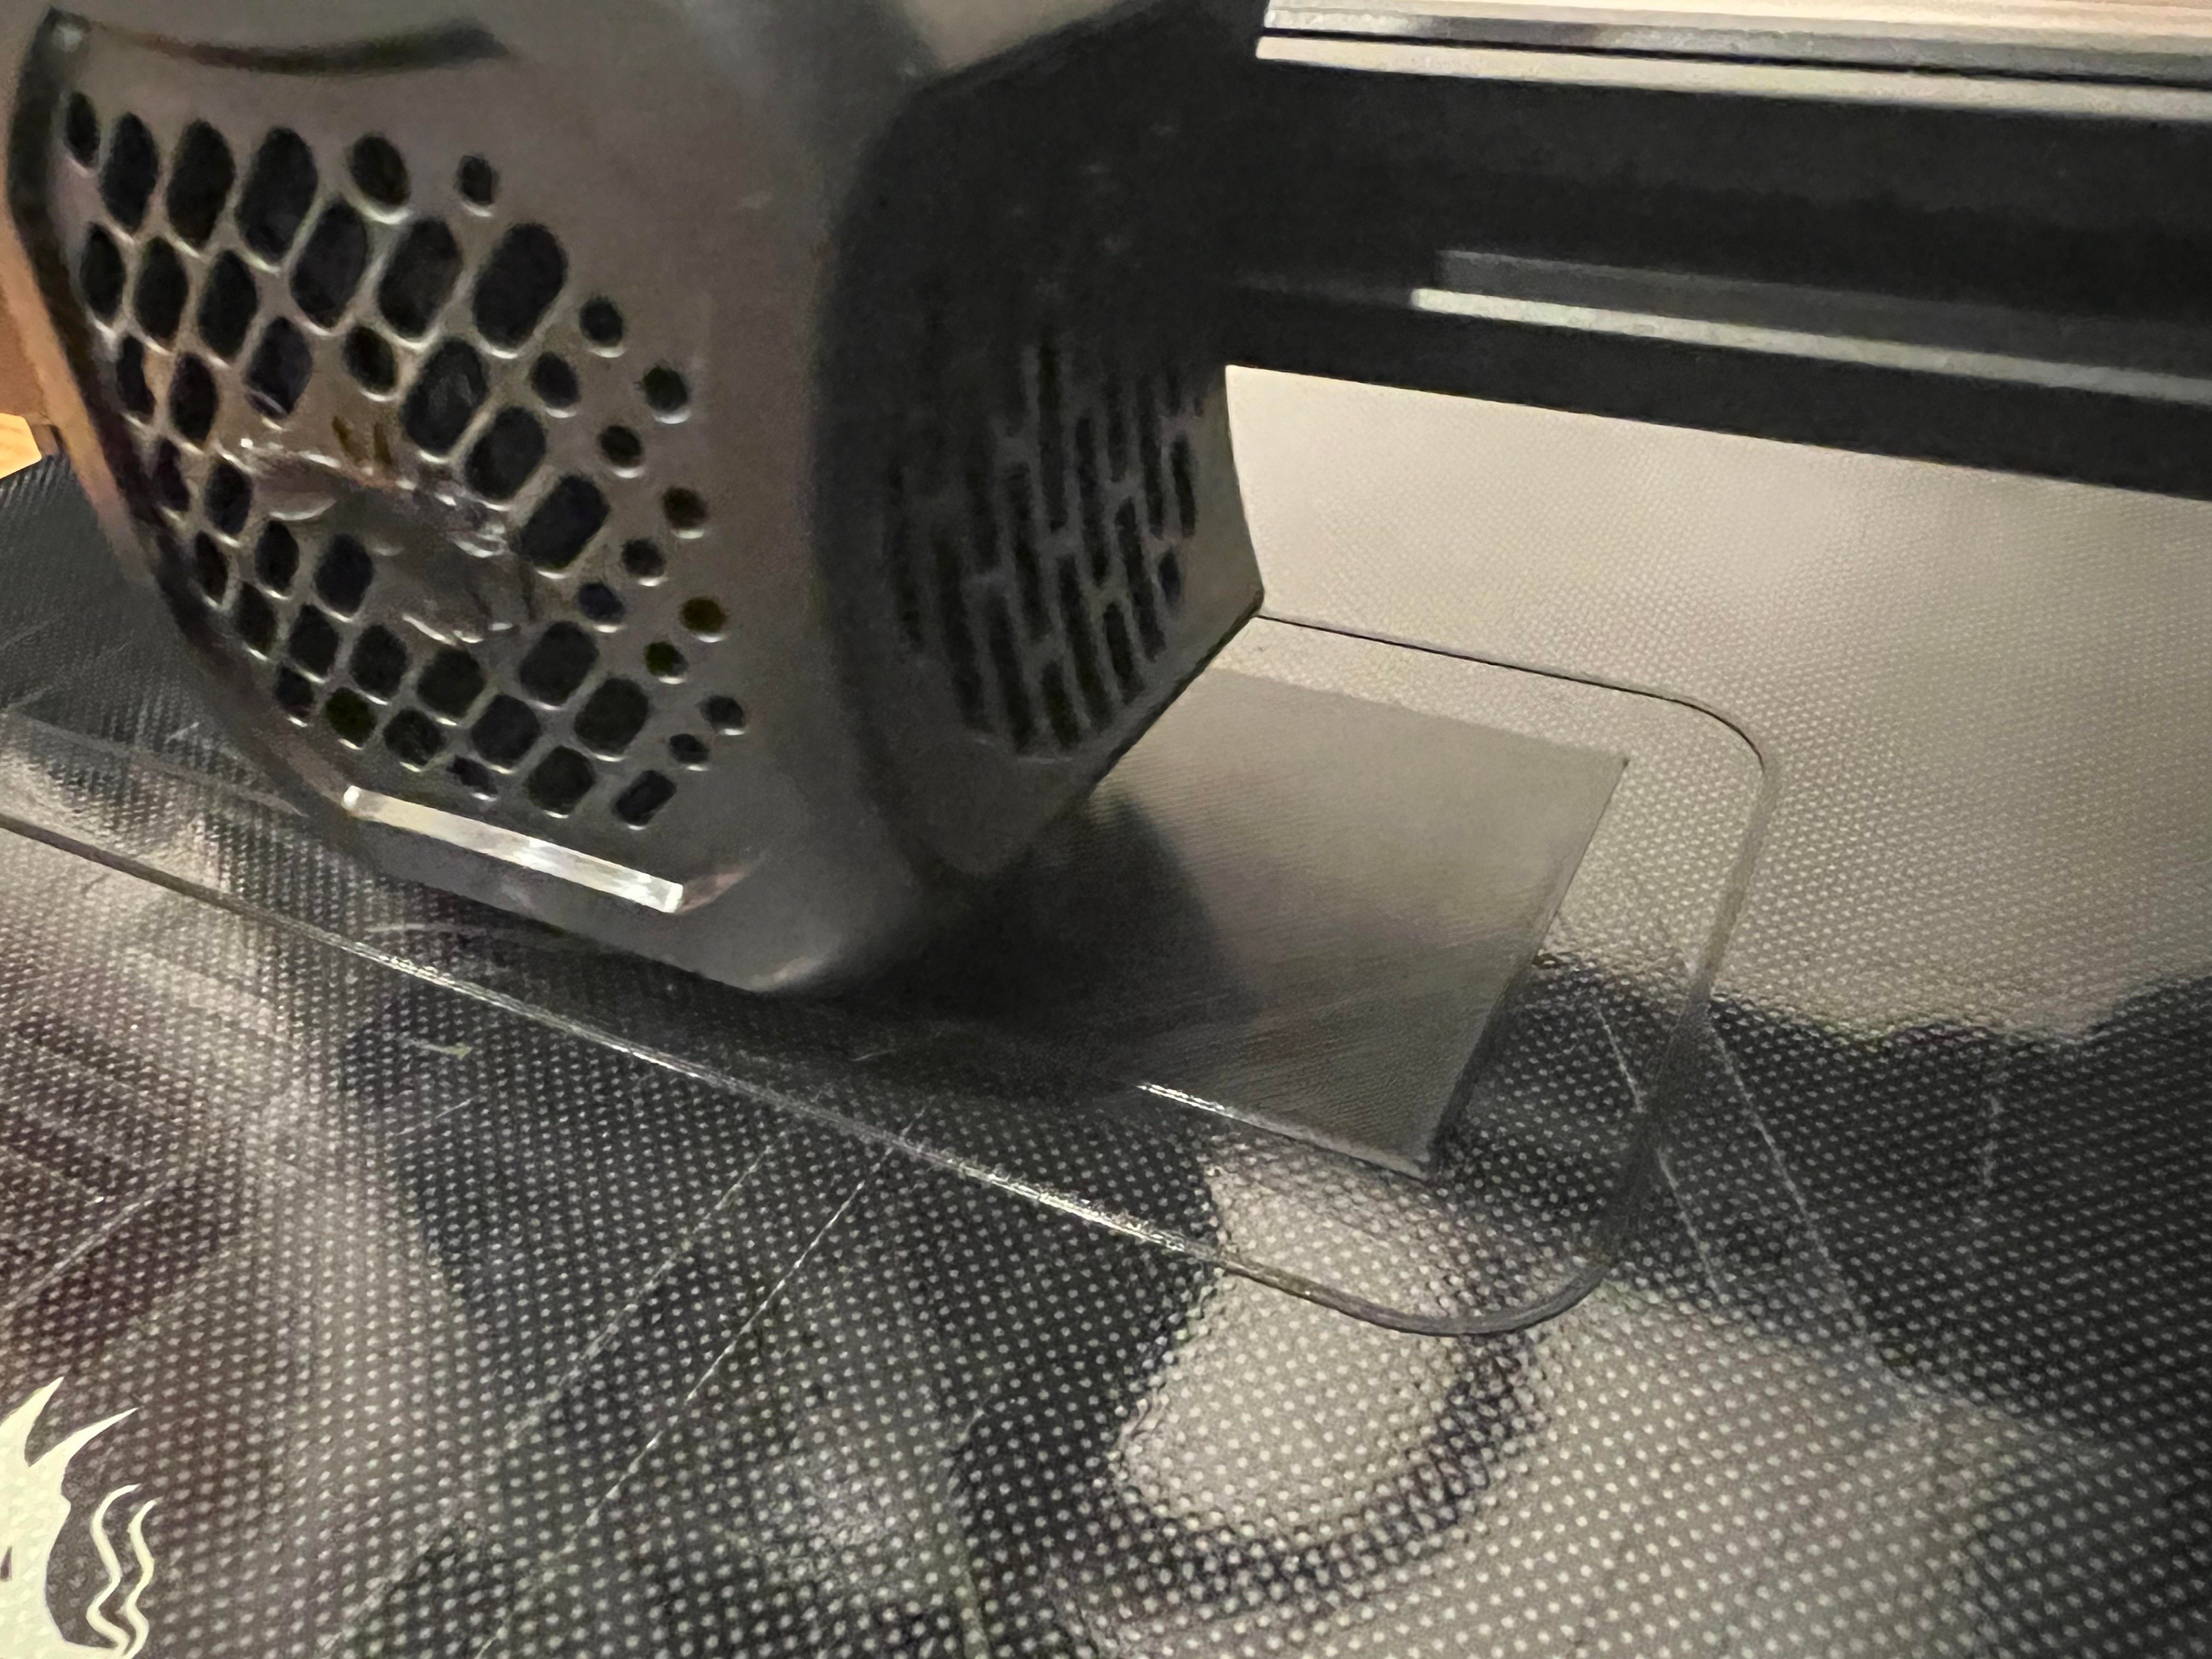
Technically you will still need to grab a piece of paper and figure out your z-offset but this is going to save you a ton of time in the long run. The CR Touch is better than the BL Touch as it uses a metal pin instead of plastic and will be more durable over the long run. I would also recommend you buy this with your printer as you will have to disassemble a good amount of it to install at a later time.
Be mindful of the direction you install the CR Touch as I believe I installed it backwards the first time? Here it is installed correctly on my dusty V2:
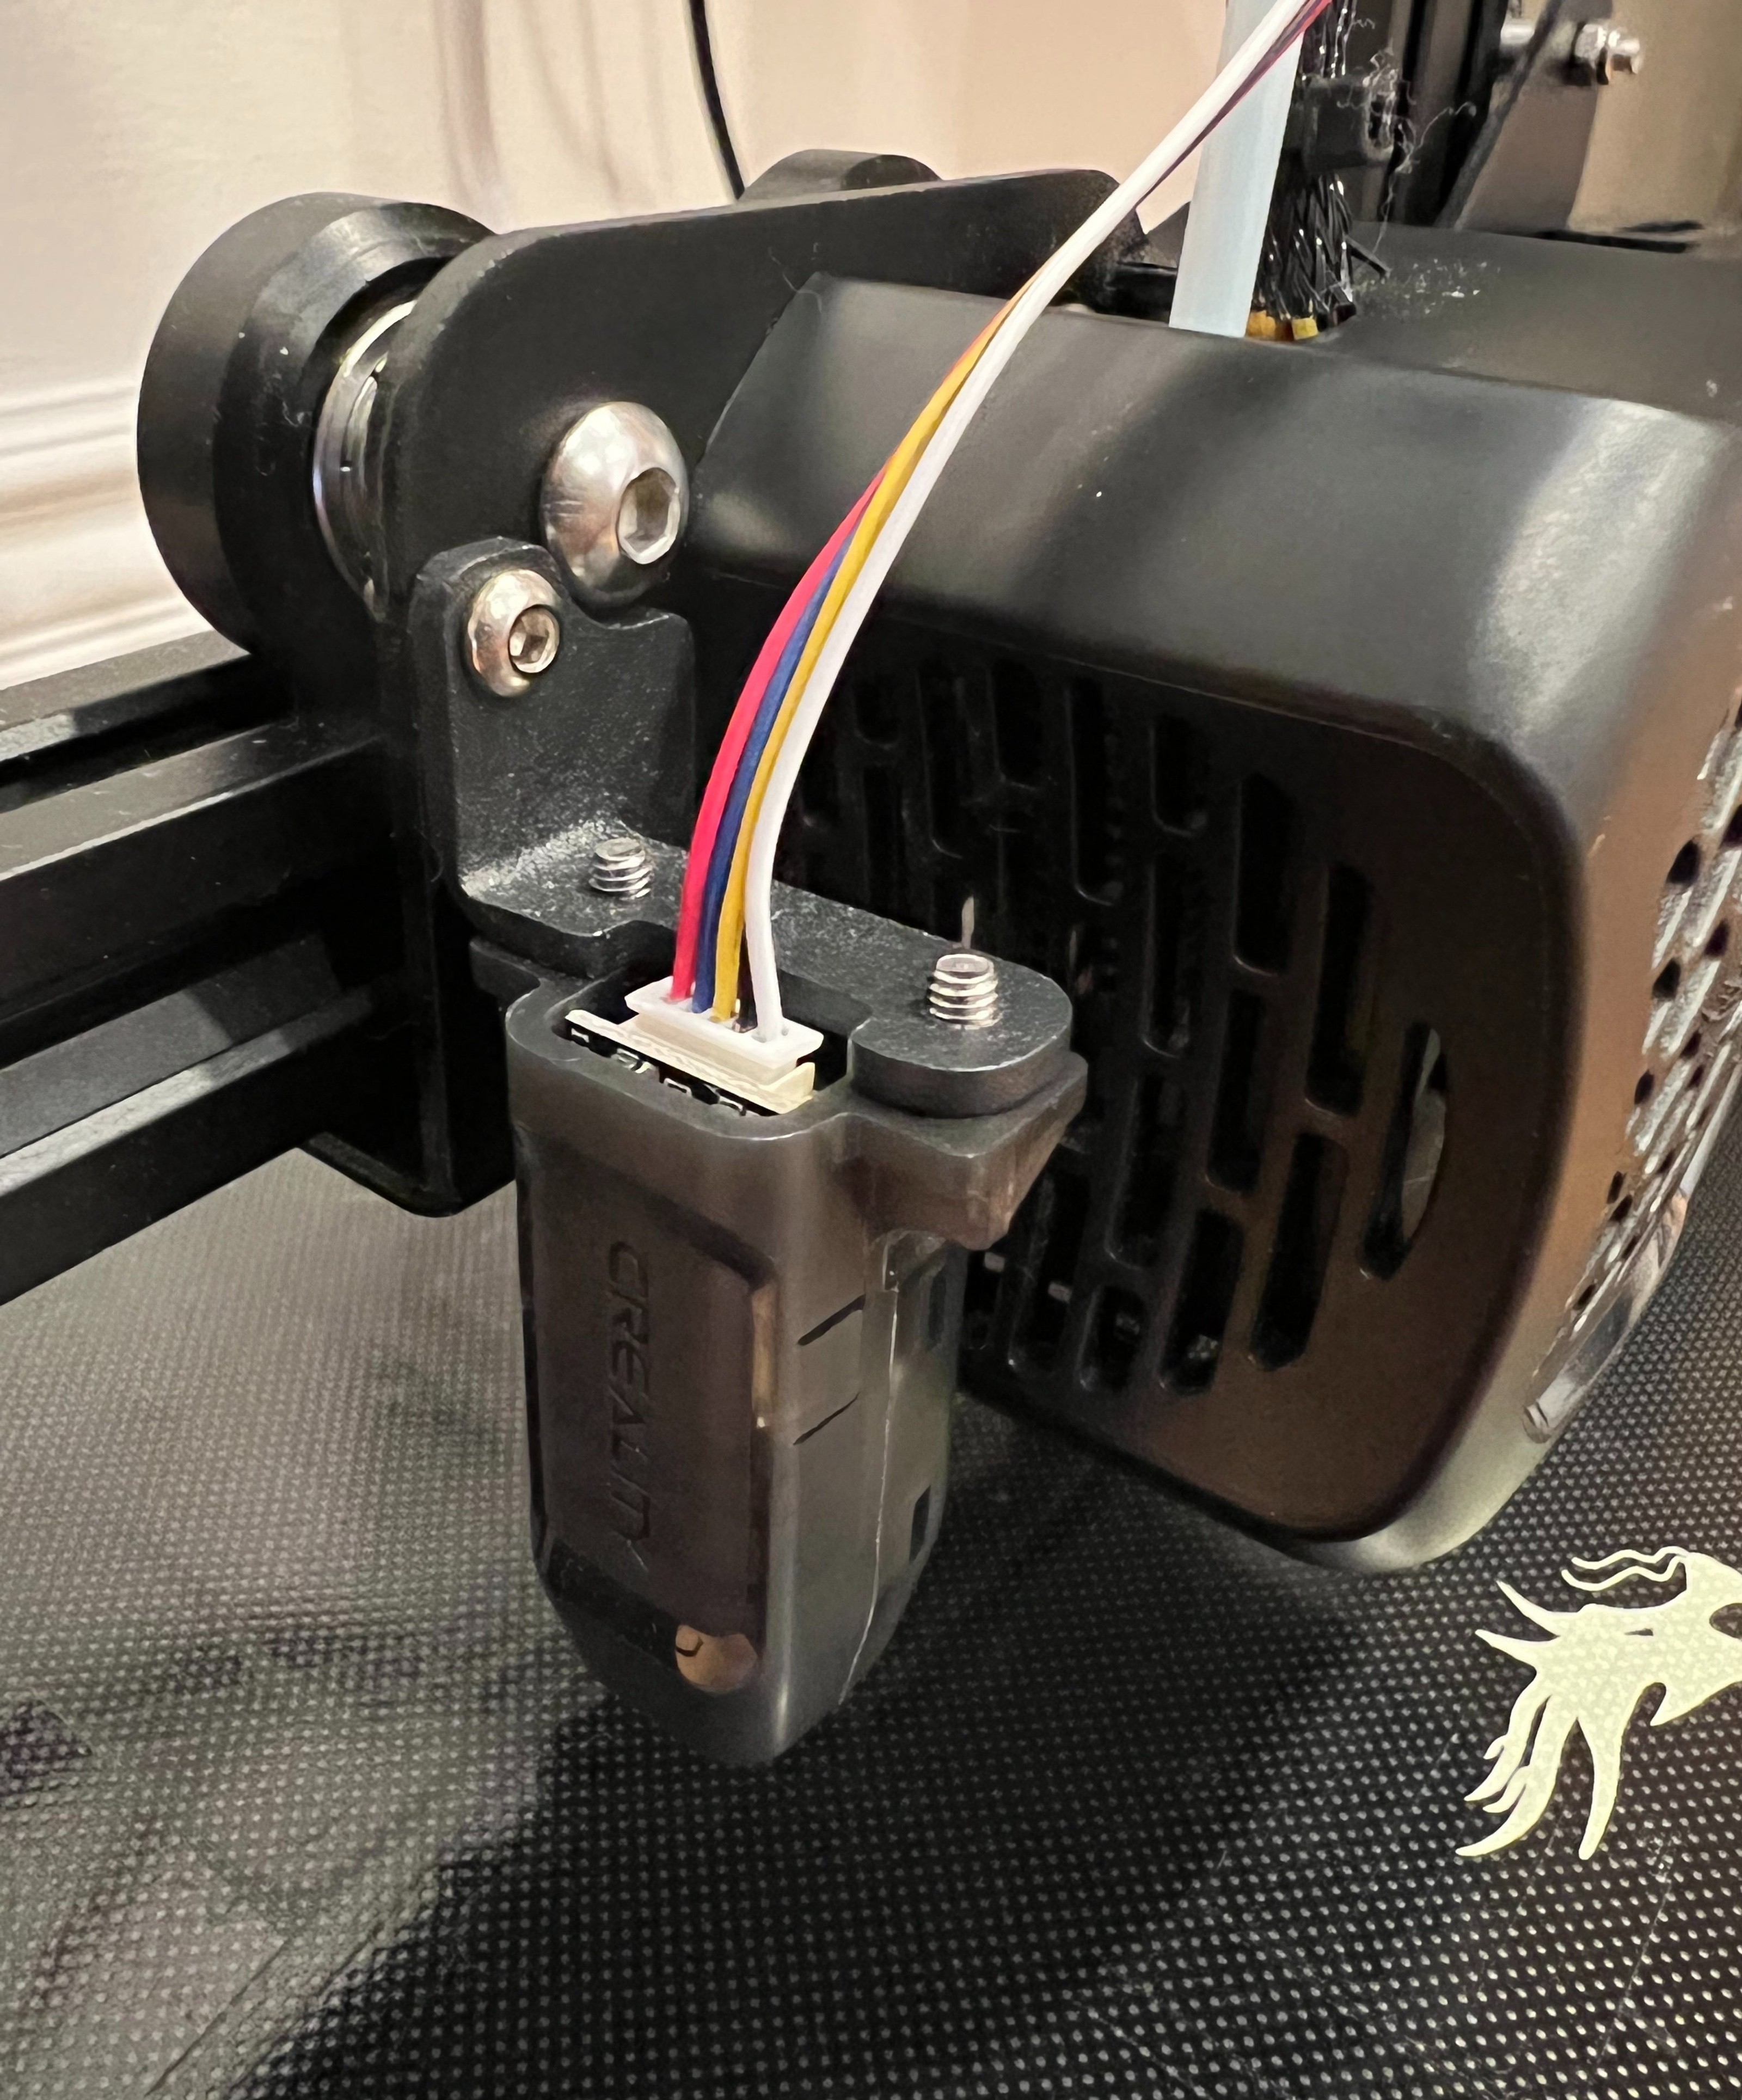
With this sweet baby attached, I will usually preheat the bed and level before every print. It is said you only need to once in a while but it only takes a few minutes and ensures the leveling software is the most up to date.
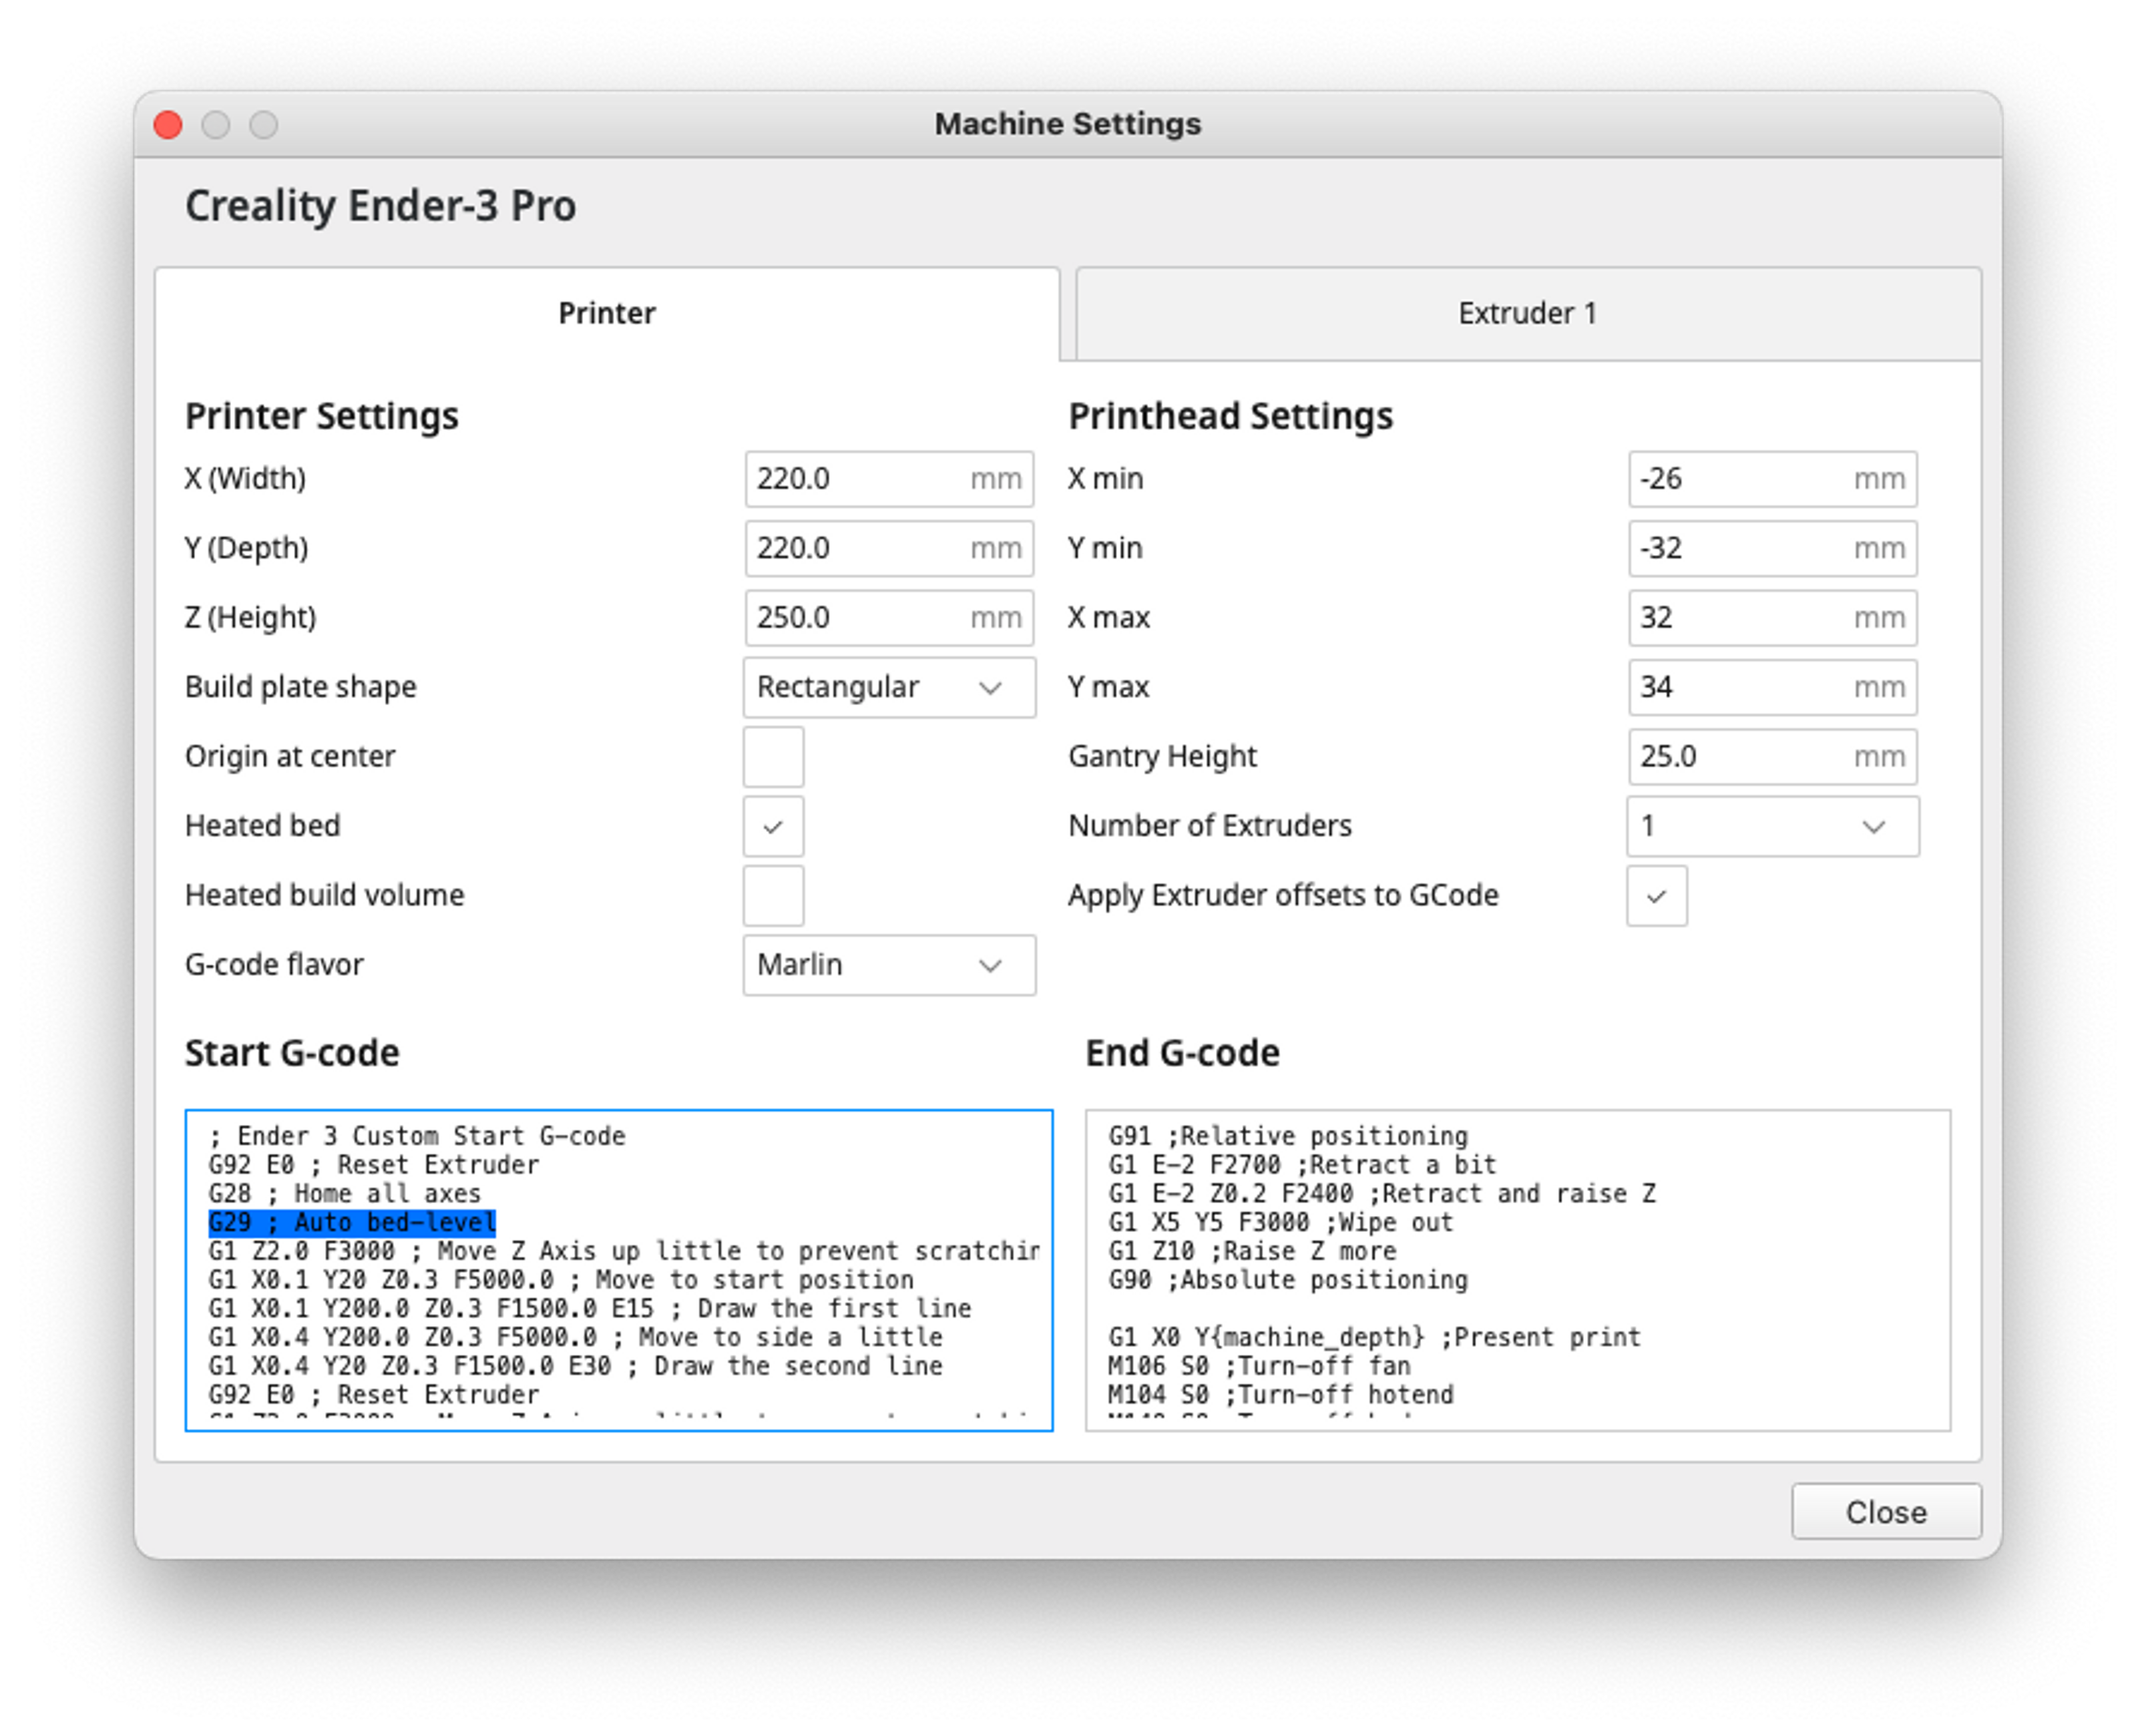
Important Note: you must update your slicer to correctly use the leveling kit. If you haven't set up Cura, come back to this part later. In the Cura app, select the printer dropdown and choose Manage Printers. Then with your printer selected, click the Machine Settings button. You will need to add the G29 value after G28. This tells the printer to use the CR Touch for leveing. Hit close to save.
Where to buy:
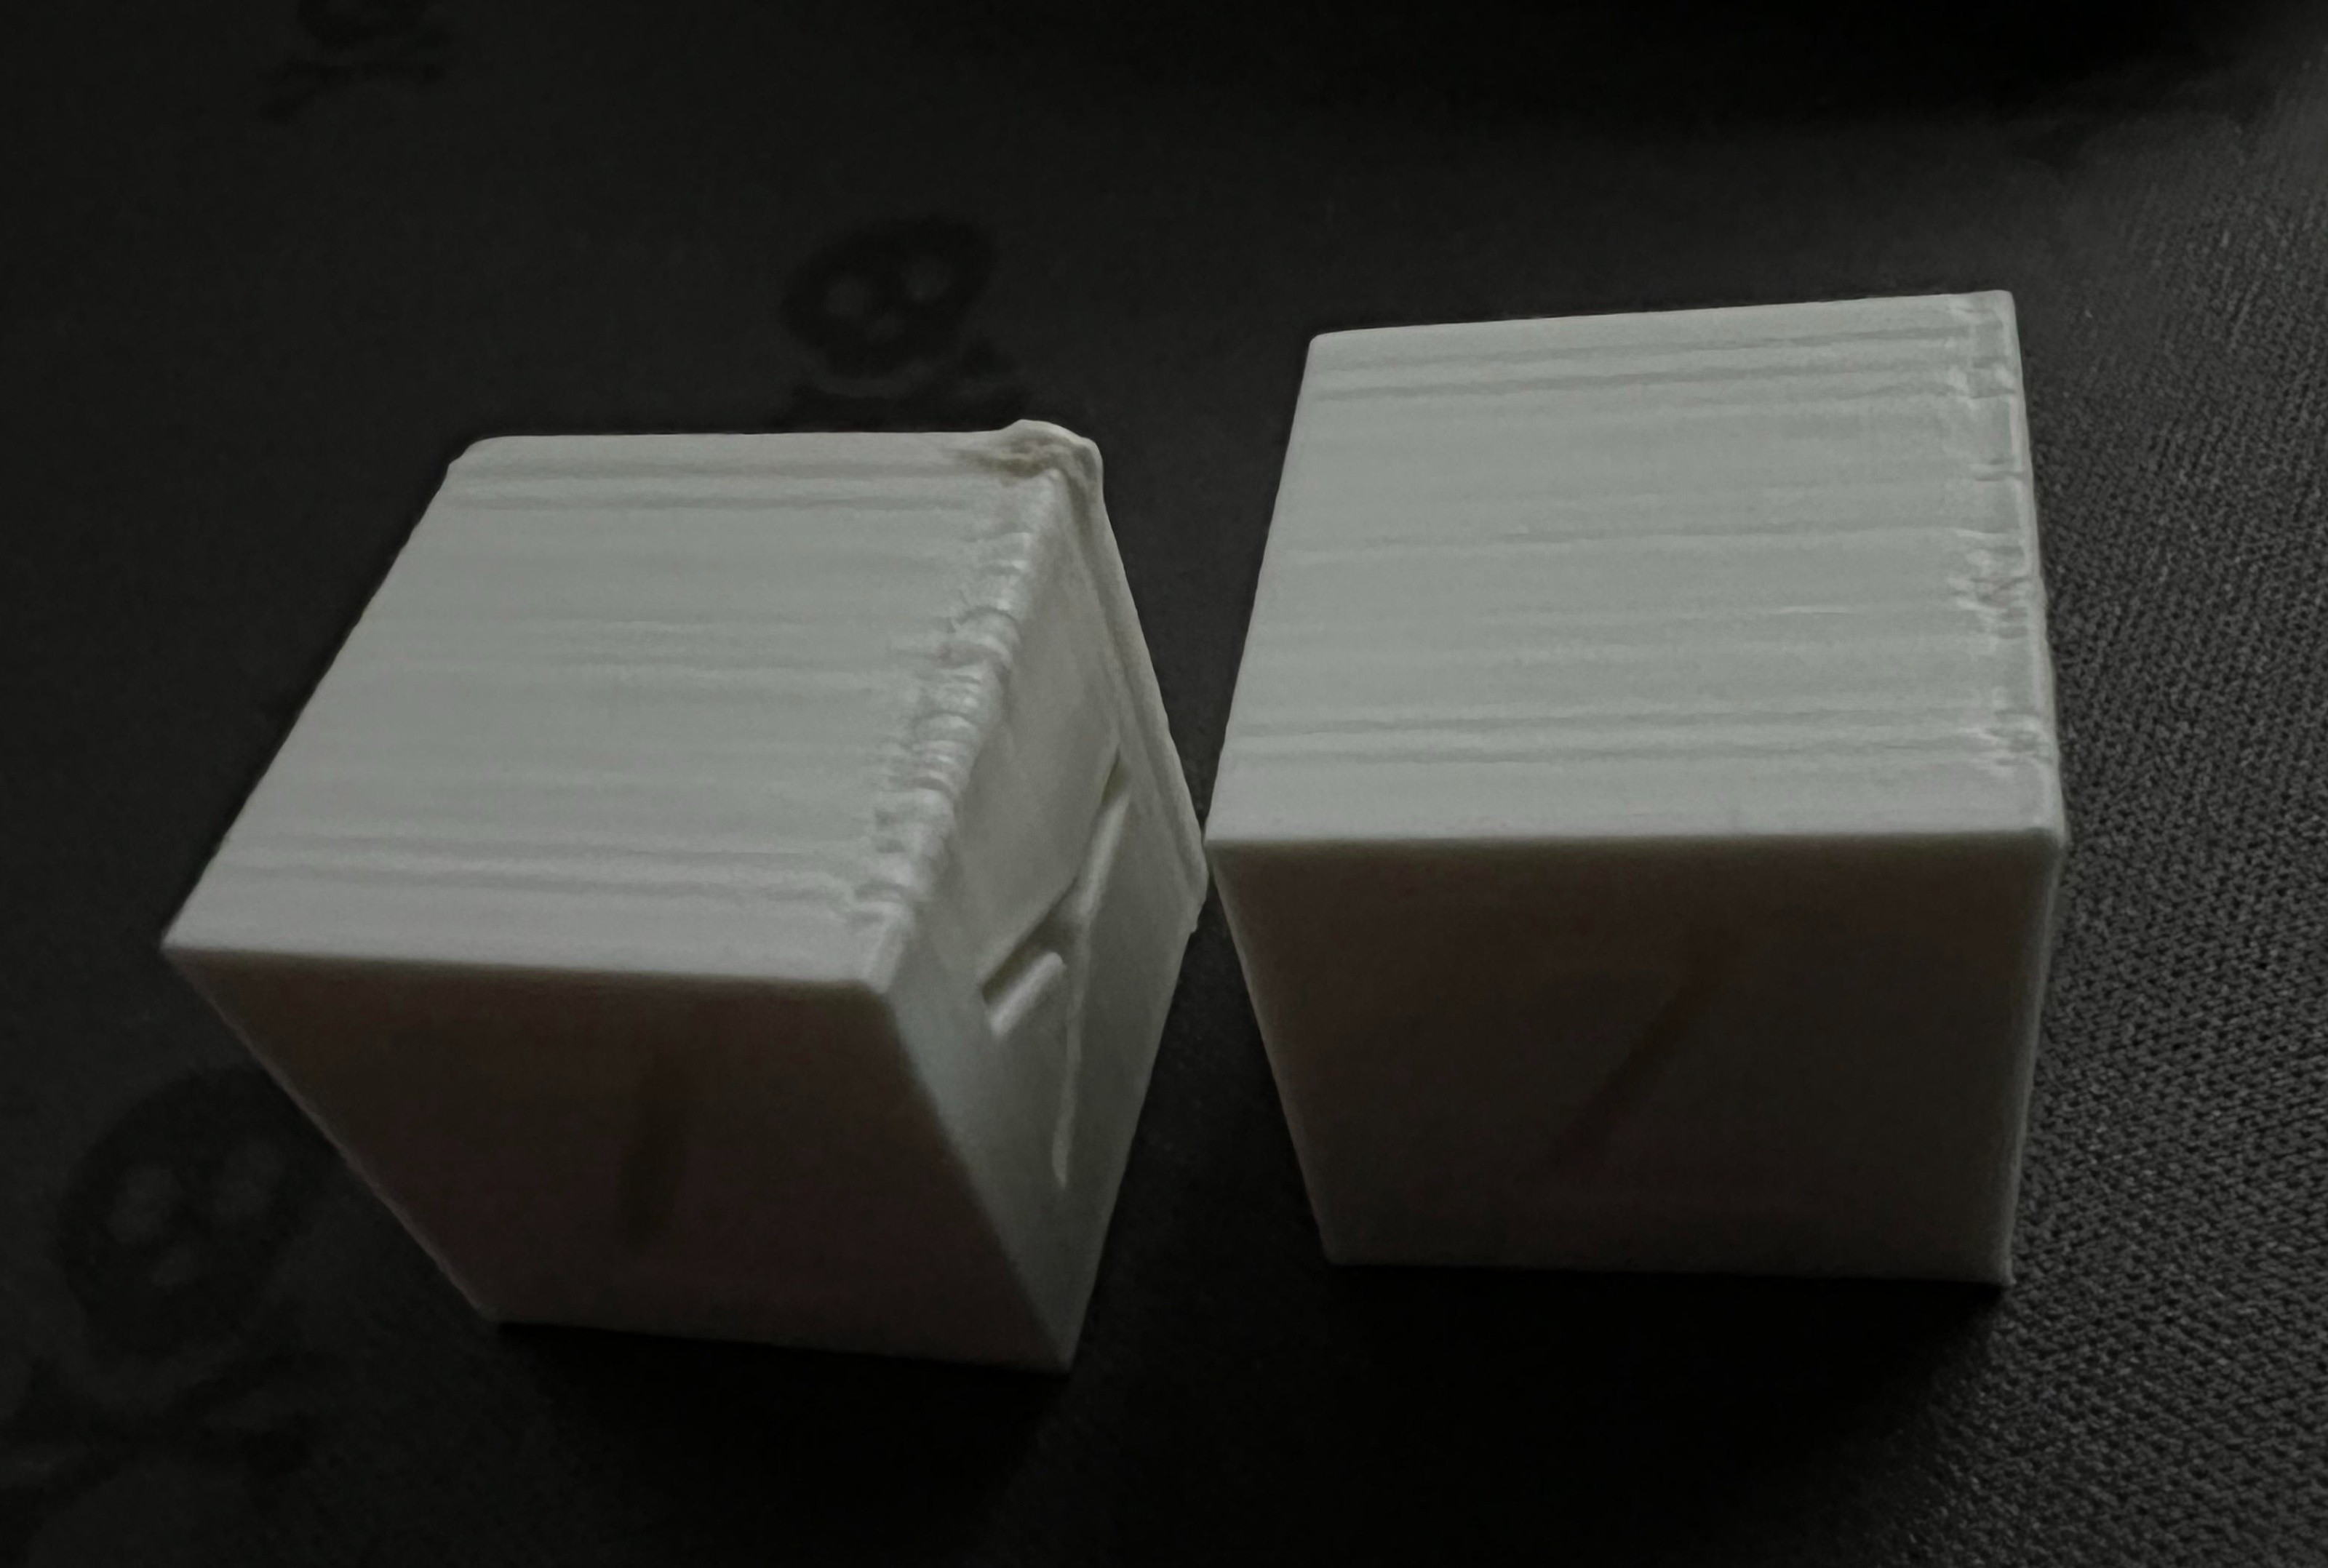
Using the self leveler + the springs gave immediate results. My first layers always adhere and are consistent. I've had one bad print since I got these two mods that I am unsure of how or why and will print again soon to see if it gets any better.
Here are calibration cubes I printed before and after the mods. You can see the one corner, while not quite perfect is a huge improvement. Also there is less issues with the first X layers:
3D Design
Before diving in to this endeavor, my experience with 3D design had been limited to some bad attempts at computer cases in SketchUp some years back and more recently building voxel art on my iPad. I am comfortable in most visual design applications and assumed I would be able to jump in to any 3D app and begin to figure it out with my basic understanding of the 3D space.
In the end I chose Tinkercad over Fusion 360 and Blender. It is the one that maps closest to the wavelengths of my brain and was the most intuitive. There is some really good Youtube videos out there to do more advanced things with Tinkercad that are not aparent at first, eg. the rounded corners I linked above.
Fusion 360 and Blender are obviously both amazing tools but my assumption about translating my Adobe Creative skills into these platforms not accurate. The shortcuts are too different. The workflows are not obvious, things are hidden behind a different layers. My next assumption is this is all for good reason and will be beneficial when I am a bit more experienced.
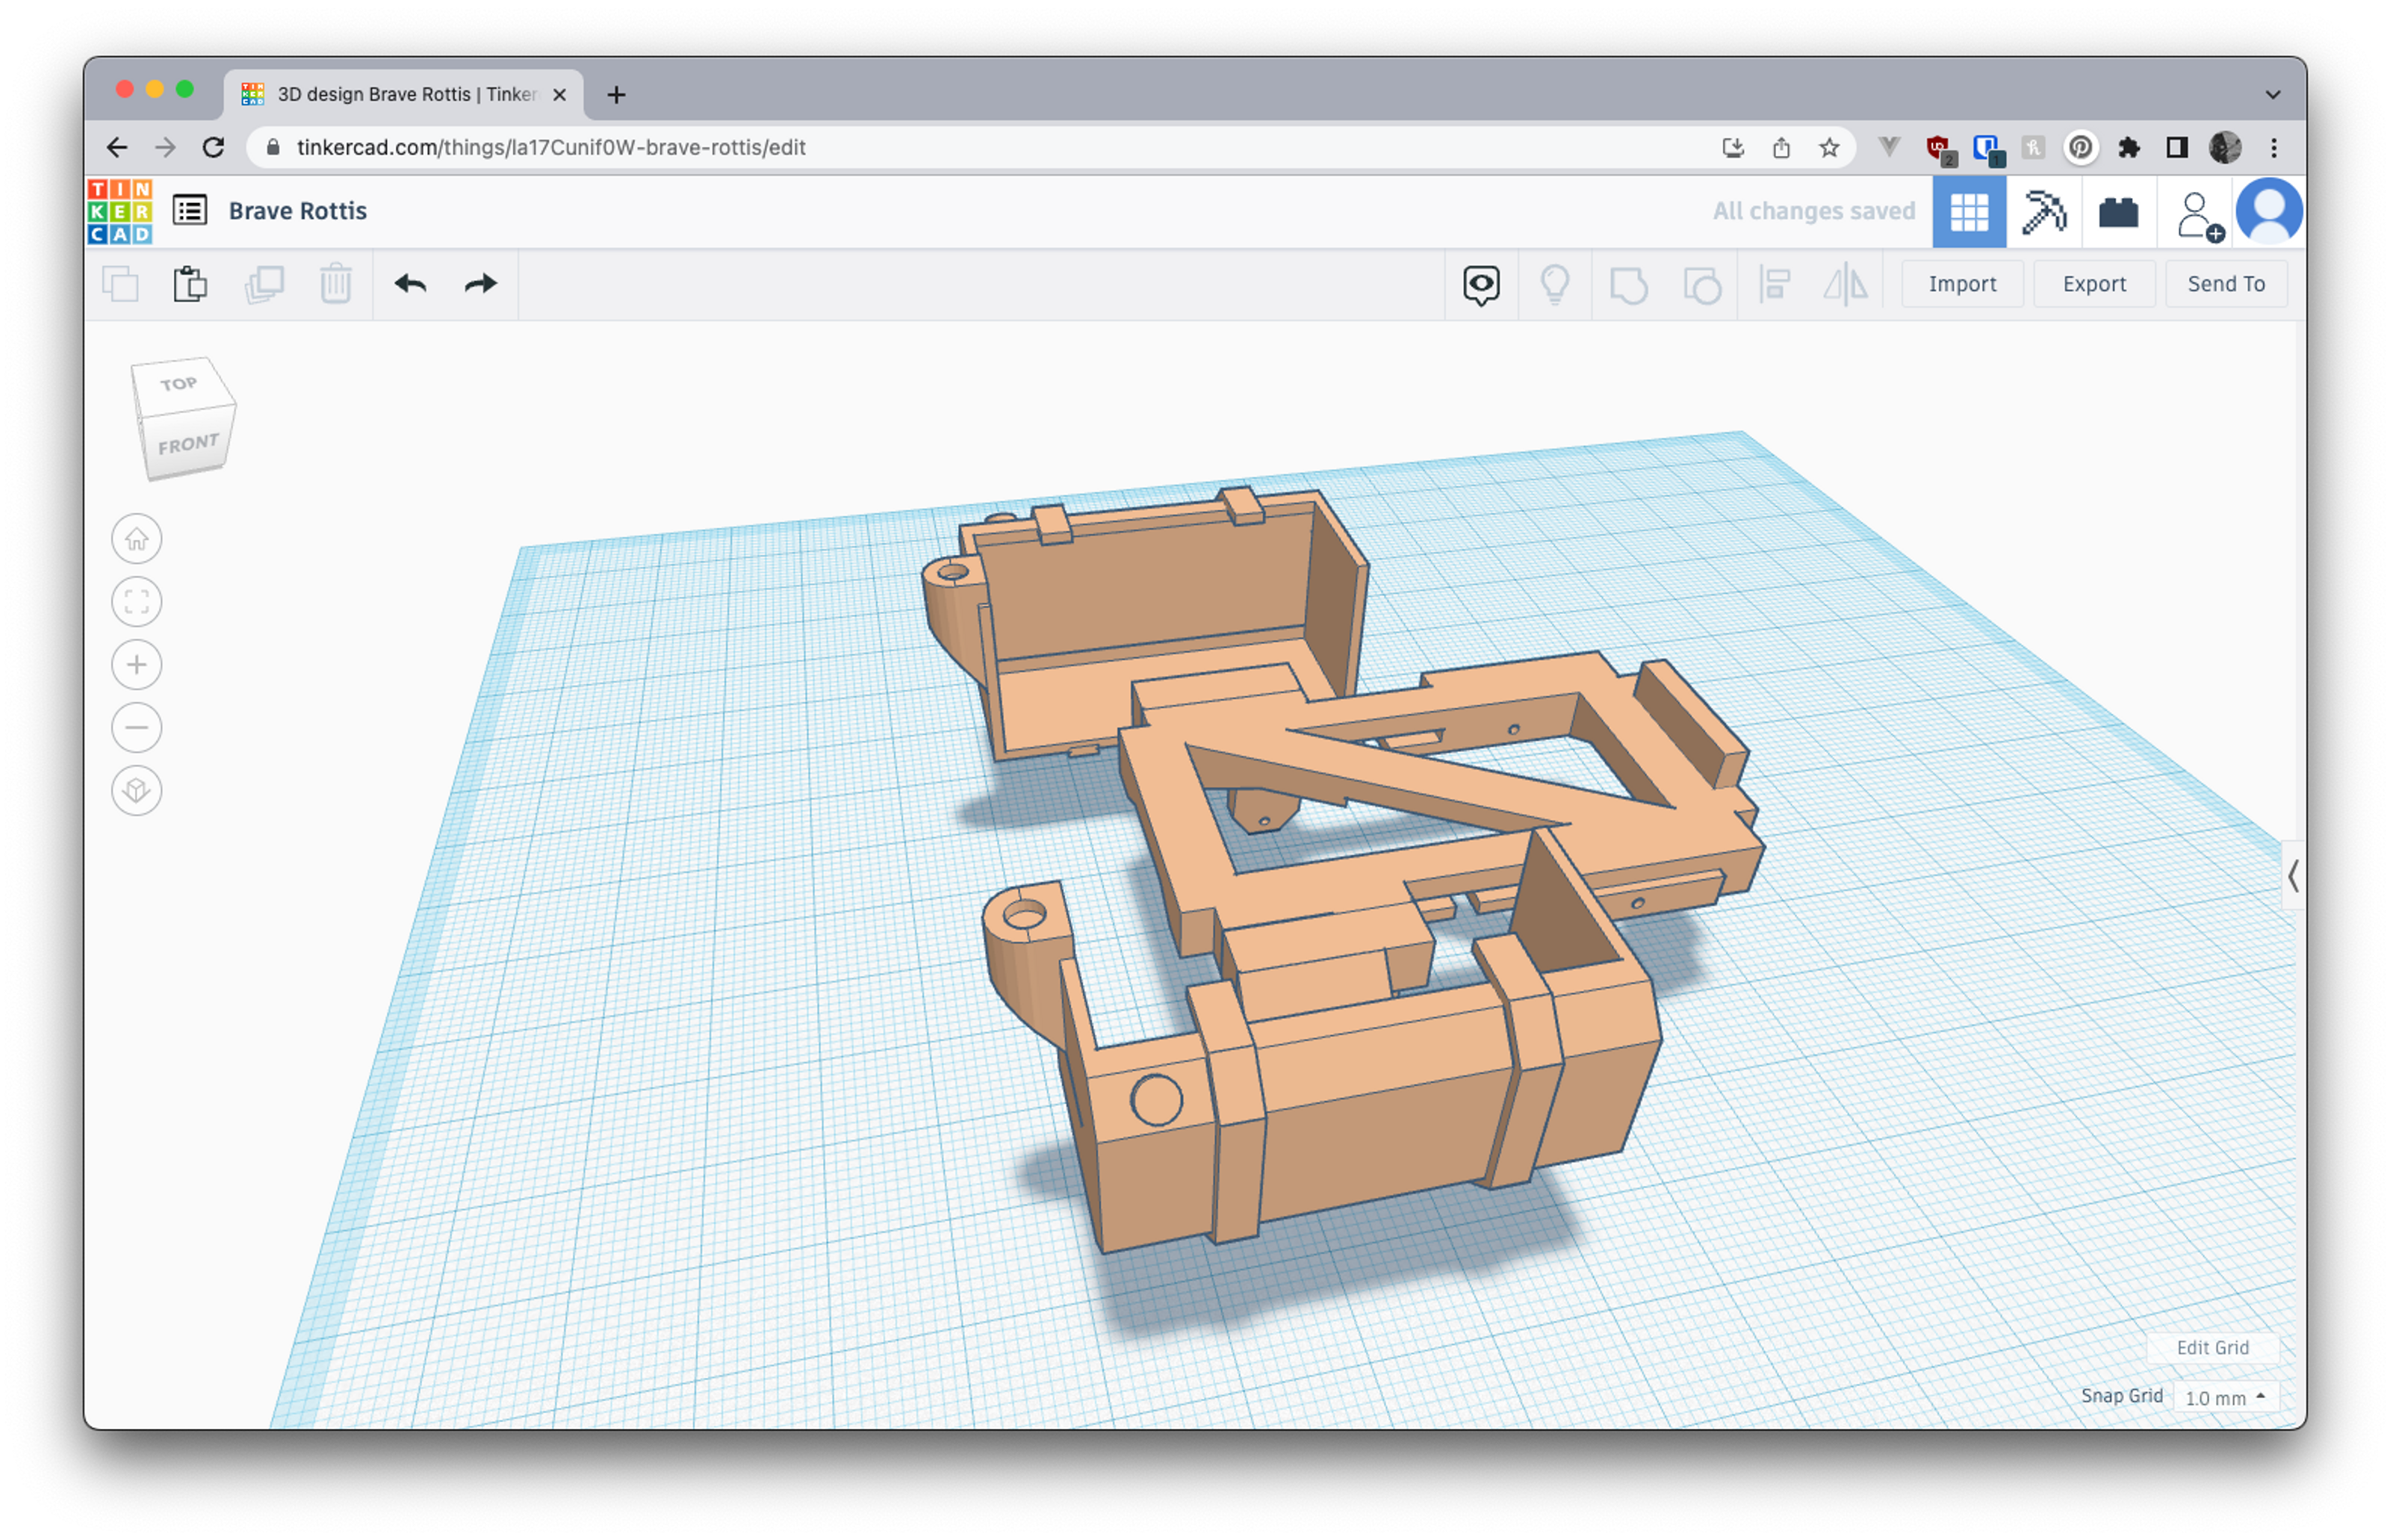
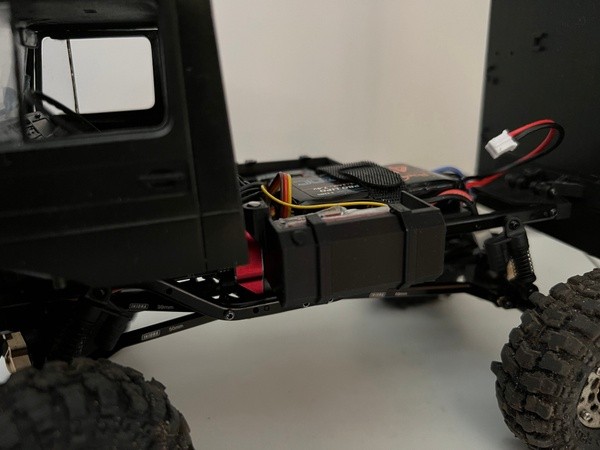
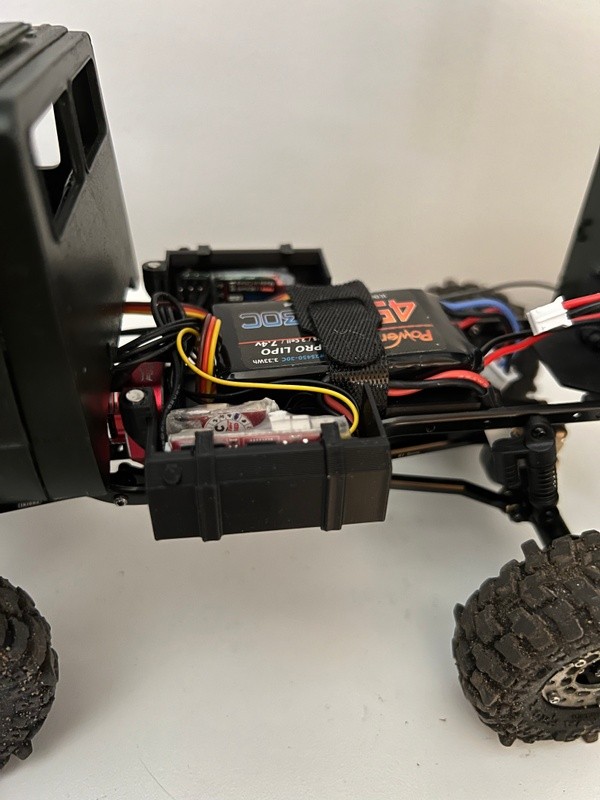
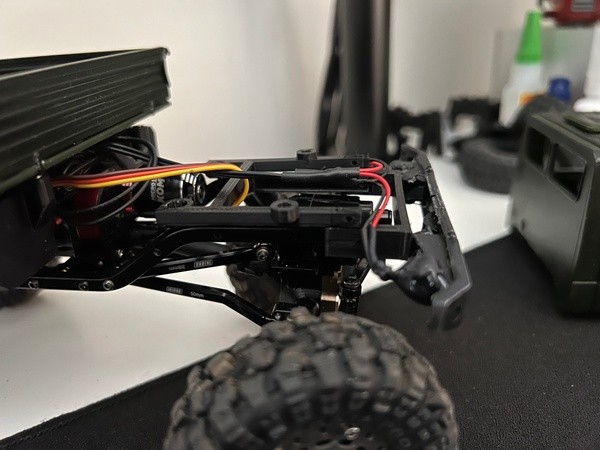
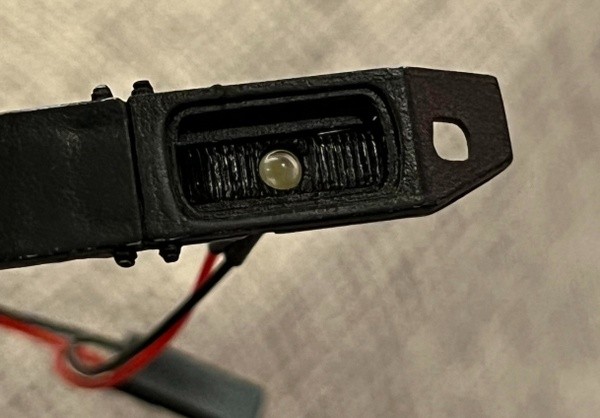
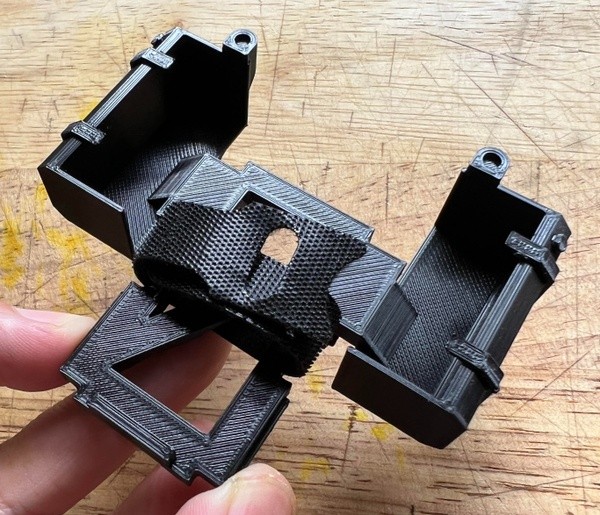
For my Unimog build, I designed:
- LED headlight mounts for the model bumper
- Bumper frame mount to mount the model bumper
- Body mount that attached to the frame and slots into the bumper mount
- Truck bed hinge that leveraged the stock pivot point
- Lower battery tray with gas tanks to hide the electronics and magnetic posts to keep the truck bed aligned better
Slicing
After designing an object in Tinkercad, I export it as an .stl file and move it to Ultimaker Cura to slice up into .gcode files that I can then load only a micro SD card to use with the printer.
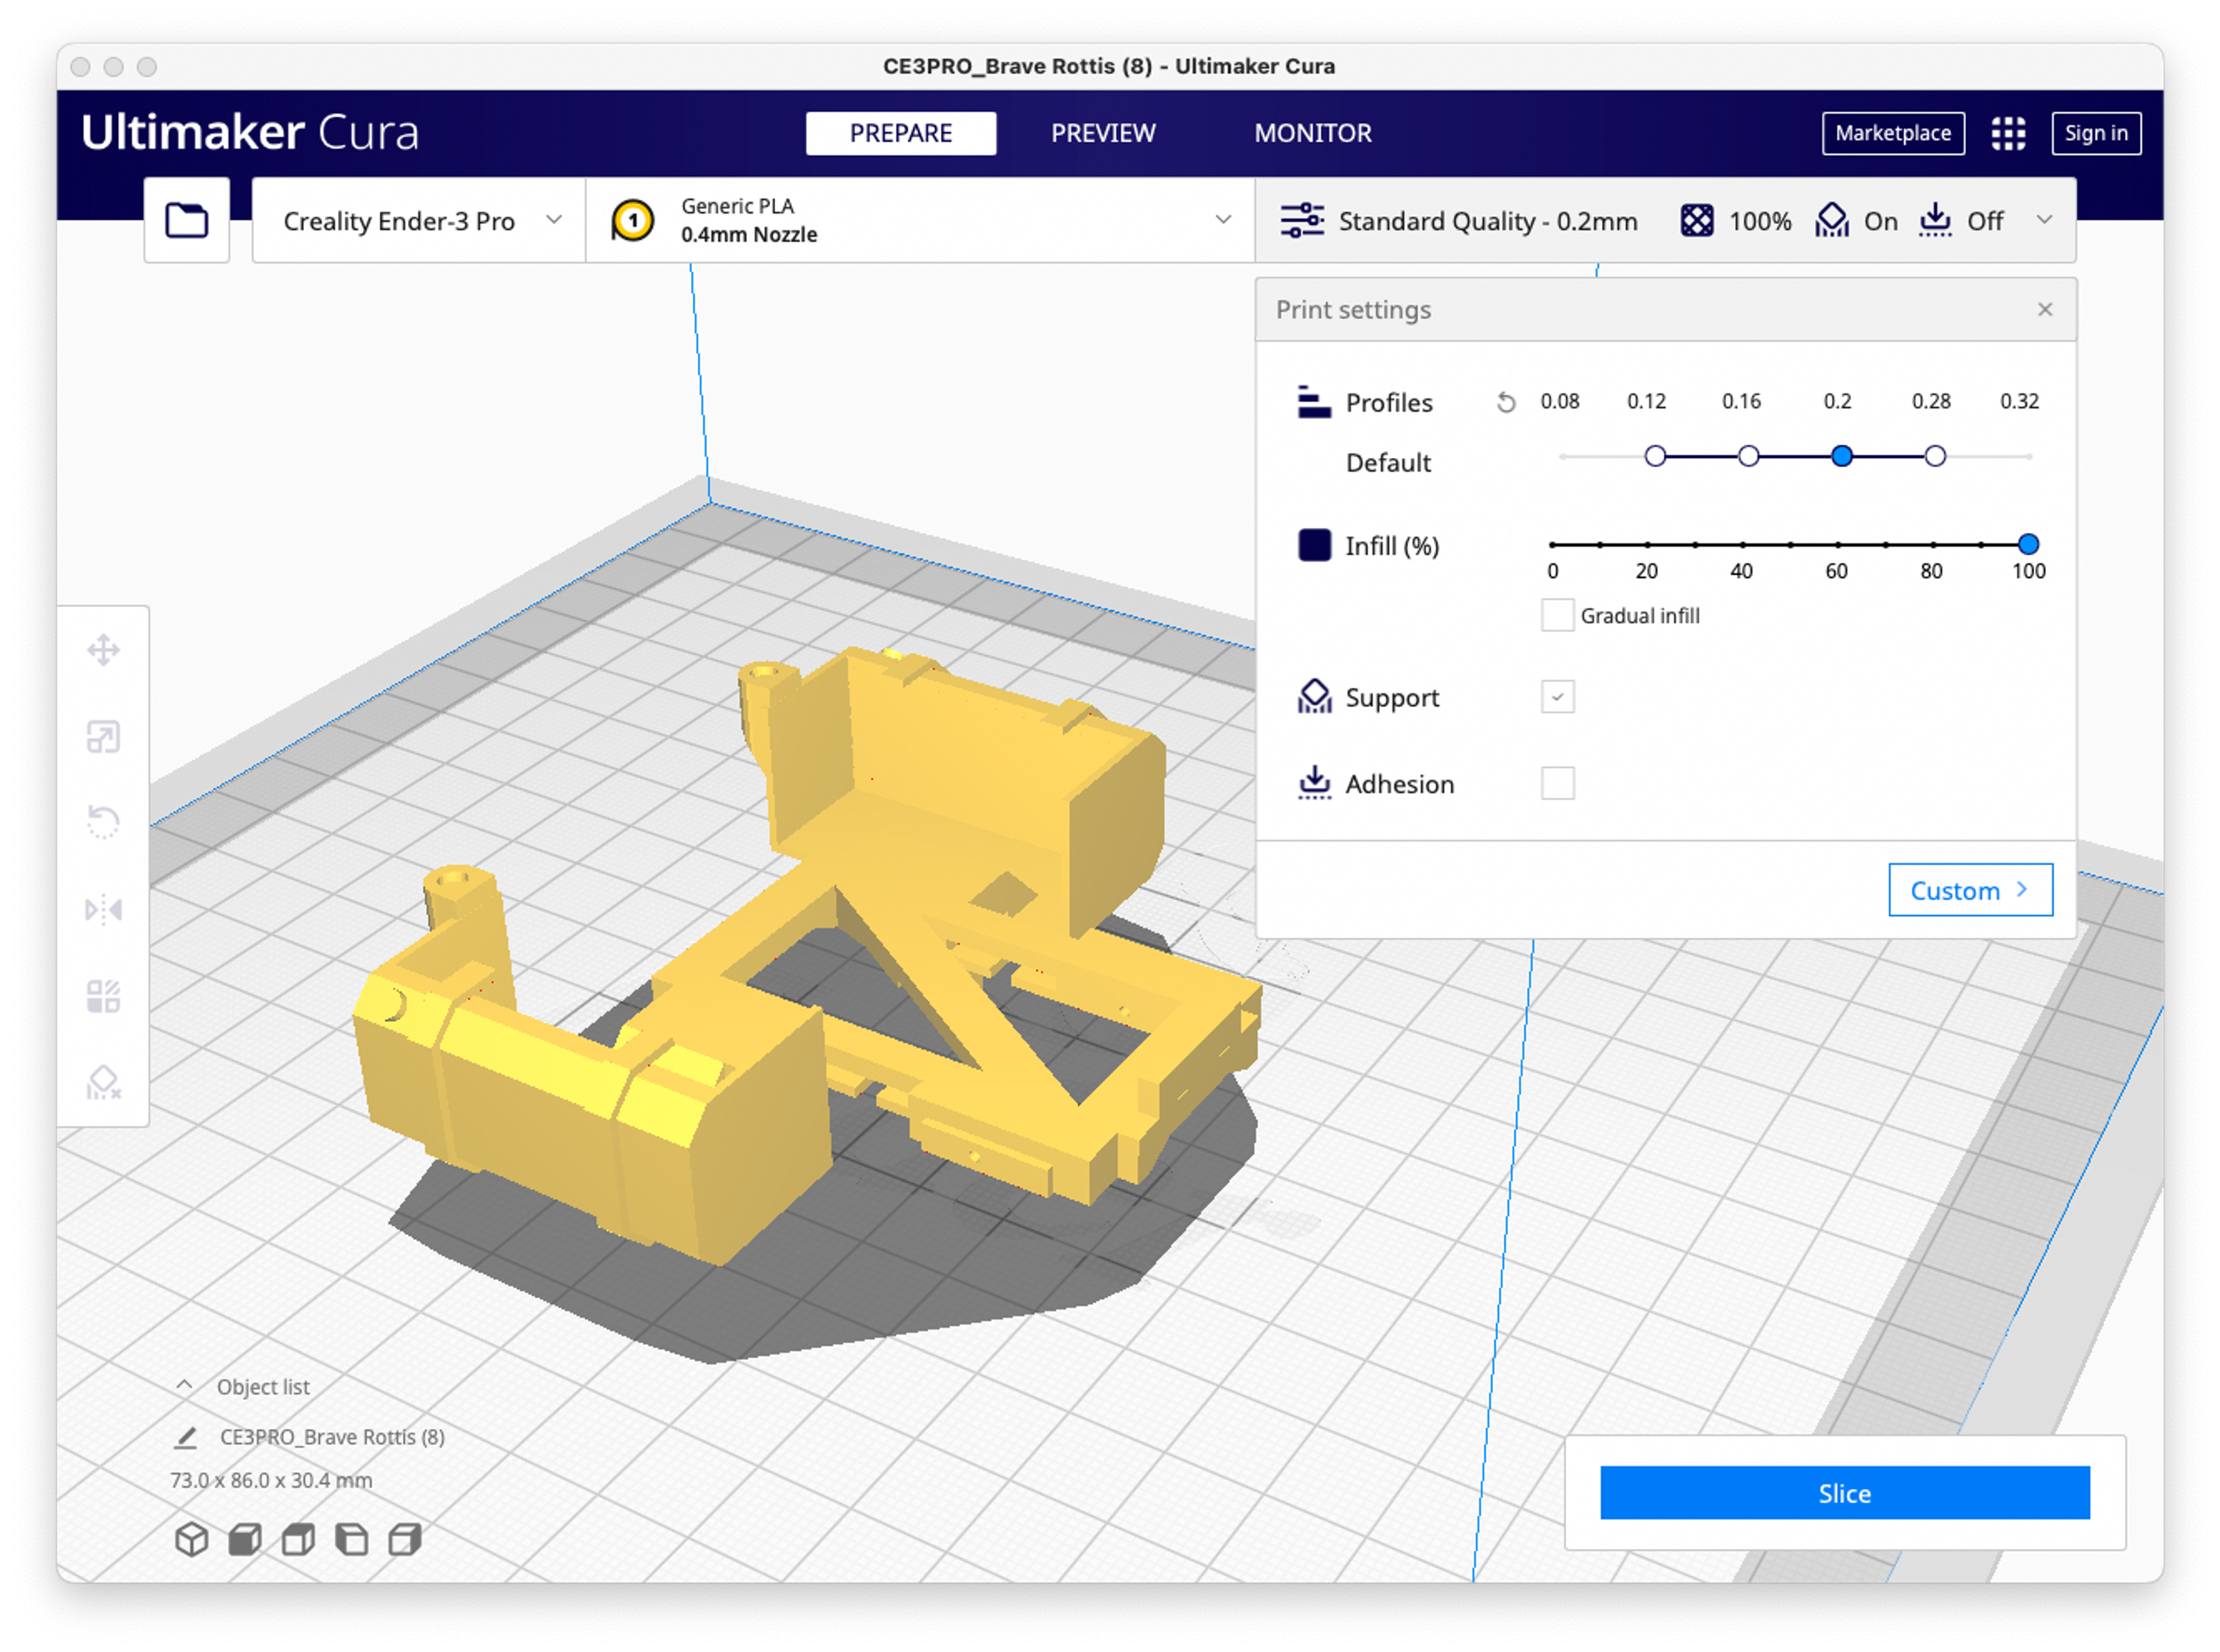
Creality makes slicing software available for free but for whatever reason (I read to?) I am using Cura. When you set this app up, you will select a printer, only the Ender-3 V2 is not listed. I chose the Creality Ender-3 Pro as it has the same dimensions and works great.
As I mentioned above on the CR Touch section, you will need to modify the start code. Other than this and playing with the infill %, I have kept all the printer settings stock and generally stick to the "Recommend Settings." If I am building something with overhangs, like the model above, then I will check off the Support checkbox. All my prints have been with 0.2 resolution.
Printing
As I meantioned earlier in the CR Touch section, I start by preheating the bed and PLA (60° and 205° respectively). Once this has warmed up, I run the self-leveler mode on the printer. While the is running I will do some stretches, or maybe pour a nice glass of scotch. Once all the prequisit activities have completed, its time to print! Using the Ender's dial and screen for all of this is dead simple. They have a touch screen version that I've read in other reviews is nice but I have had 0 issues with this setup. Selecting a file gives you the option to start your print and once you do, sit back and relax, finish your scotch, watch the Celtics blow a 4th quarter lead in game 4 of the NBA finals, or whatever else you've got on the ticket, because most likely its going to be a while.
As noted above, I think its best to run the print while you can keep an eye on it, pausing if you go away.
If the print seems off in any way, abort the print early. Its better to trouble shoot than assume it will self correct beccause if you've learned anything in this post its that assuming doesn't work.
One thing I will do is rub at the edges of the initial print skirt to make sure that it is well adhered to the bed. I think my biggest print failure was me forgetting to do this and wasting a couple hours of print time as I went outside to do some work (breaking my rule of keeping an eye on the printer as well!)
Once the print is done, its time to get that sucker off the print bed! For my printer, sometimes im able to tap it with the supplied putty knife/scraper and it will pop off. If there is a large surface area on the first few layers, it may require some extra effort. Hammering on a solid side that is not at risk of snapping seems to work. Reddit tells me I can put it in the fridge. I haven't don't that yet. Don't give up and destroy your print if it seems extra adhered (something I didn't expect at all when I assumed I would become a pro printer in a few days.)
Show Us the Goods!!
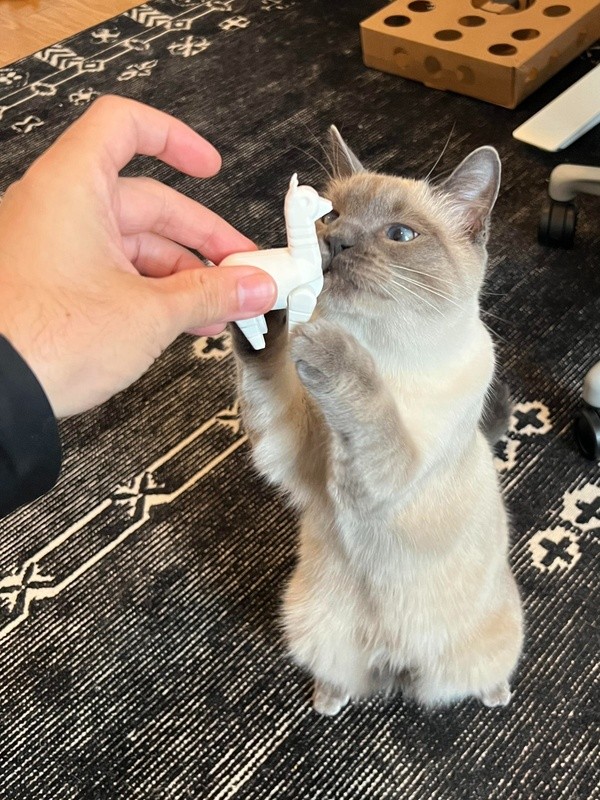
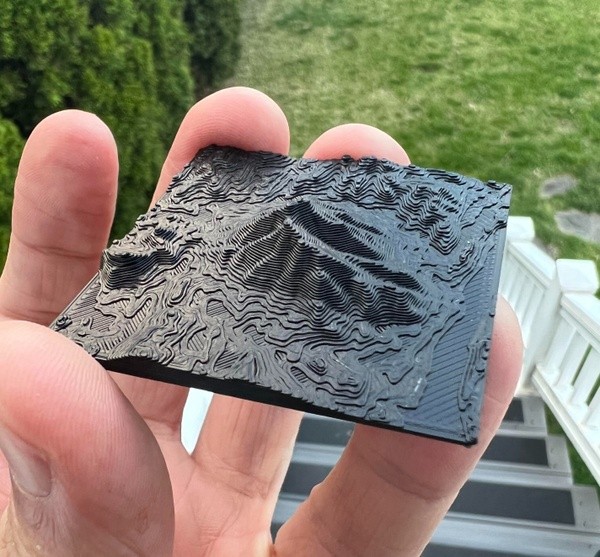
Here are a few of the prints I've done since I got the printer outside of calibration prints, including the prints mentioned above for my Unimog:
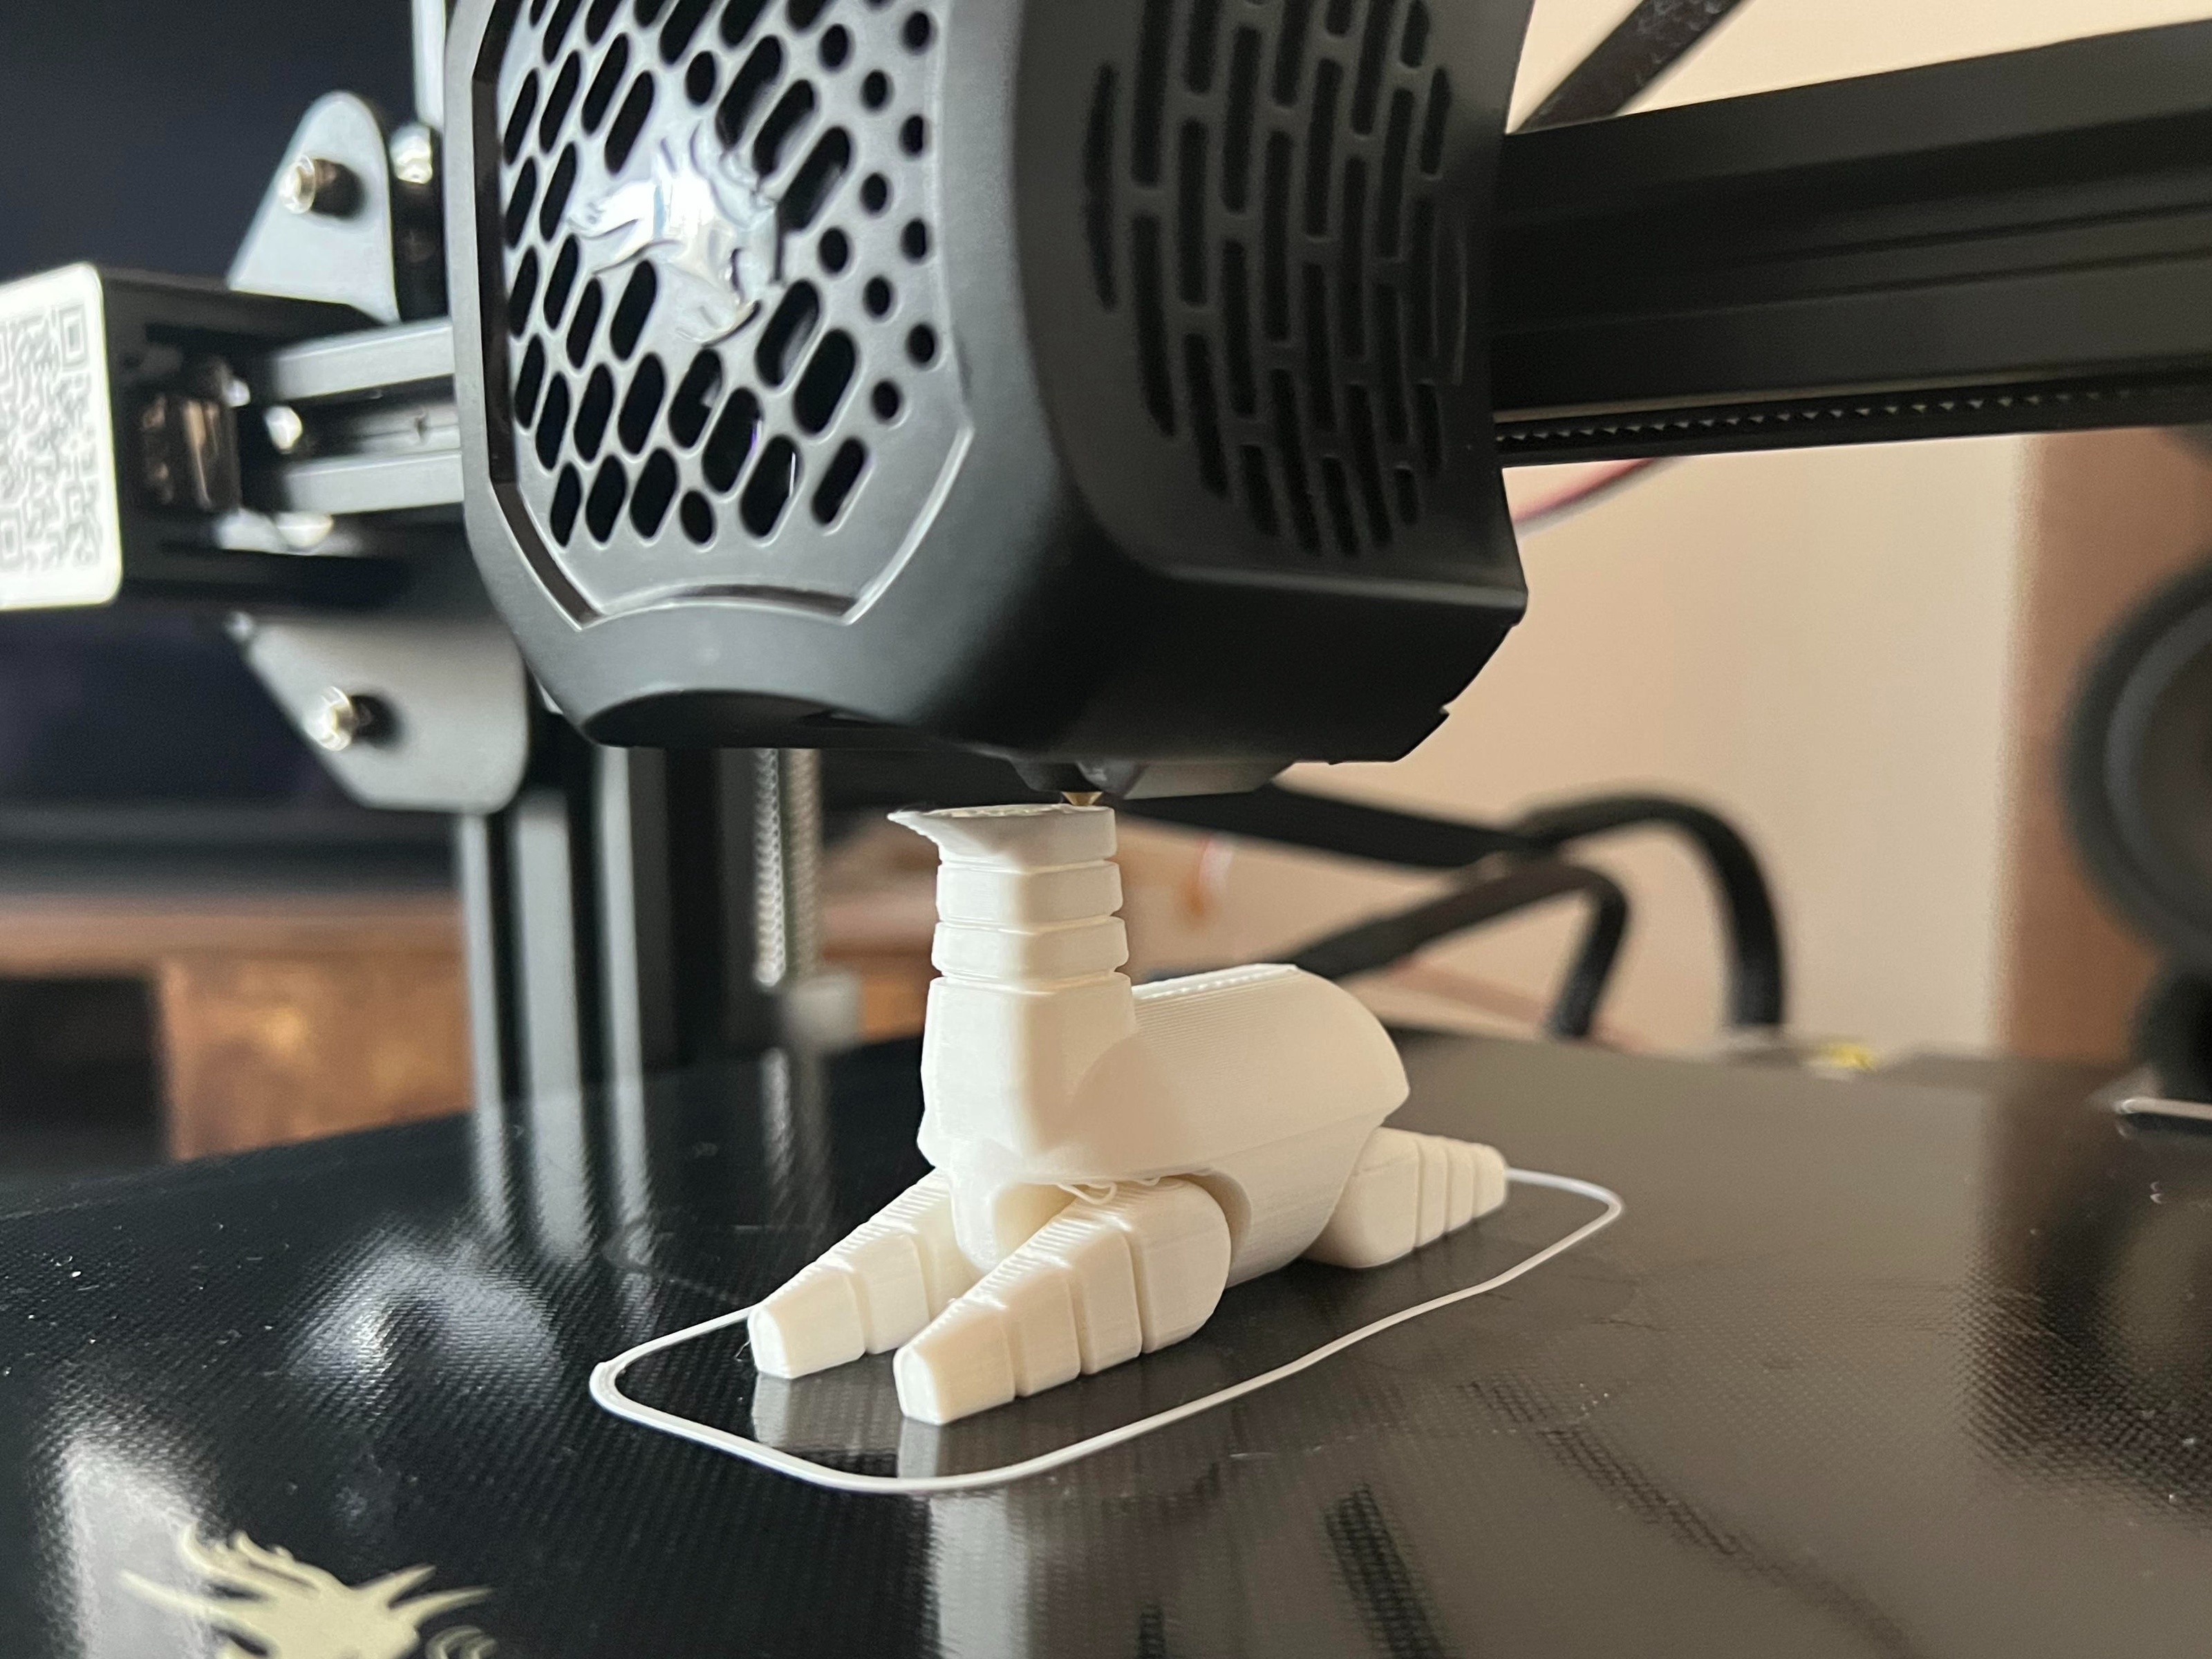
An Alpaca with Movable Legs... and a little spaghetti on the overhang. I clipped it off. Link to Alpaca on Thingiverse
Closing Thoughts
- With no other printers to compare, I will boldly claim, the Ender 3 V2 is the perfect printer for entriants into this space. The V2 gives you paths to upgrade as I did and bring it inline with the S1 Pro if you so choose.
- Do buy the CR Touch Self Leveling Kit and the upgraded "Yellow Springs" with the printer to save yourself time, both on leveling and tearing down and reassembling the printer.
- Take your time assembling the printer as many of the issues I see on Reddit seem related to poor assembly and/or they do not RTFM (read the freaking manual.)
- If you are hesitant to jump in to 3D printing, I would encourage you not to be. Even if you do not have time to learn 3D design, the community support with free files is there and it really is not as daunting as it seems. I still know a fraction of what I could learn but I was able to successfully design and print the pieces I needed for my model as well as many other things that have struck my fancy.
- I really love working with 3D files and printing. It filled a weird hobby void I didn't know I had. I am excited for my next project where 3D printing is the focal point and/or if I replace something broken in the apartment by printing a replacement piece instead of buying a new on throwing it away.
Resources
3D Printer & Accessories
3D Design Software
- Fusion 360 (Personal use is free)
Slicer Software
Communities
Happy printing!